A friend of ours is having a Tiny Hat Party this weekend and for it, Jack and I made mini crowns. I had some much fun working on making our own crowns (I will post pictures of the set later),I wanted to see just how small I could make them. Thought it would be fun to put together a tutorial of me putting it all together!

First thing’s first: supplies. Glue gun, bottle cap, thin foam sheet (in my case white), red and white felt, tape, scissors and/or X-Acto, gold spray paint, pencil, black marker, decorations! (jems, thin chains, etc.)
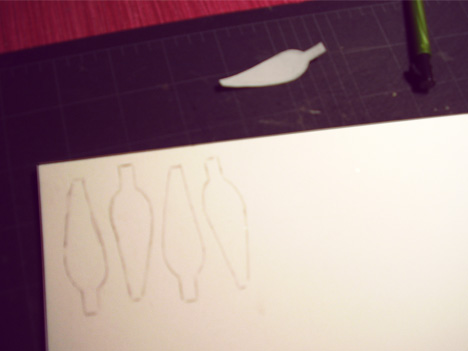
Step 1: Start creating the outer “leaf” sections. You can either drawn lightly, with a pencil, on the thin foam itself or make a template on a peice of paper and trace it onto the foam.
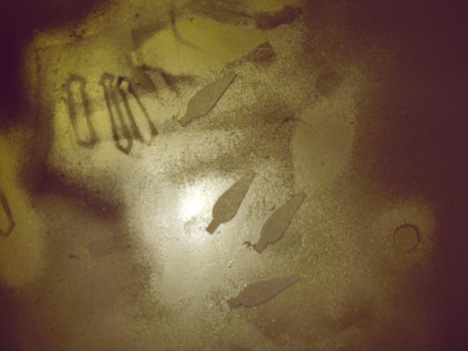
Step 2: Cut out the pieces and spray both sides with gold spray paint.
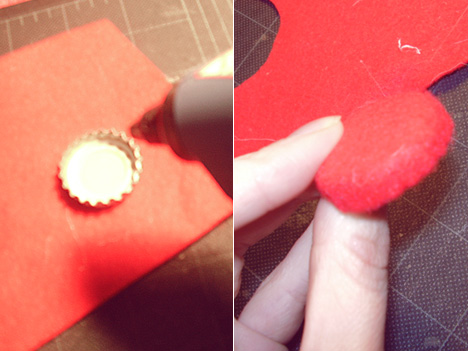
Step 3: While your waiting for the “leaves” to dry you can move on to the base. Cut out the red felt in a circle slightly bigger than the bottle cap, so that it can cover all the edges. Hot glue gun it. I recommend starting to glue the outside first, then pulling and gluing the edges in.
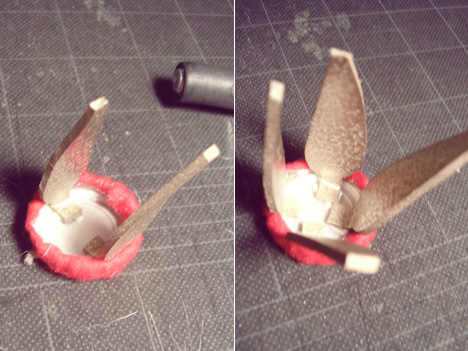
Step 4: Hot glue the “leaves” into the base, as evenly spaced as possible. Set aside for a sec.
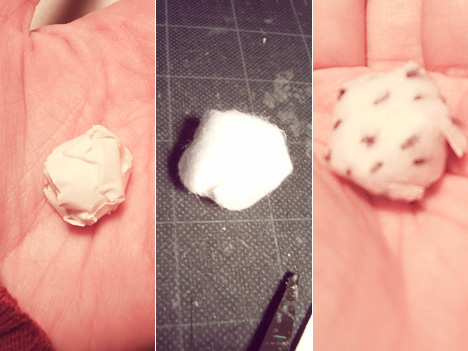
Step 5: Take a bit of tape and roll it into a ball. Make it so it will fill the interior of the base nicely. Glue on some nice fuzzy white fleece and fleck with a black marker to create some faux ermine fur.
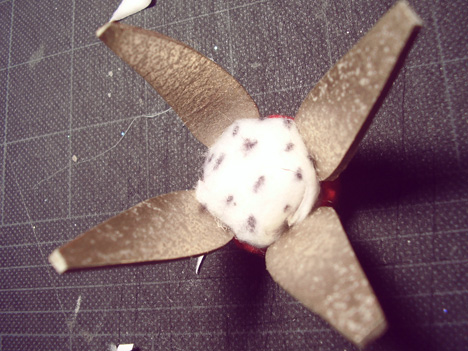
Step 6: Glue fur ball (hehe) into place.
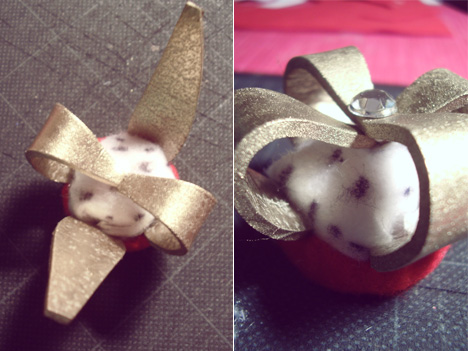
Step 7: Now, glue each of the “leaf” tips to the center of the ball. Work with the pairs across from each other; glue two down, then the next two on top of those. I topped it all off with a little gem to hid the seam.
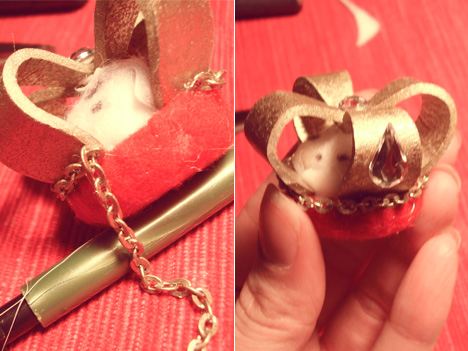
Step 8: Add the decorations!
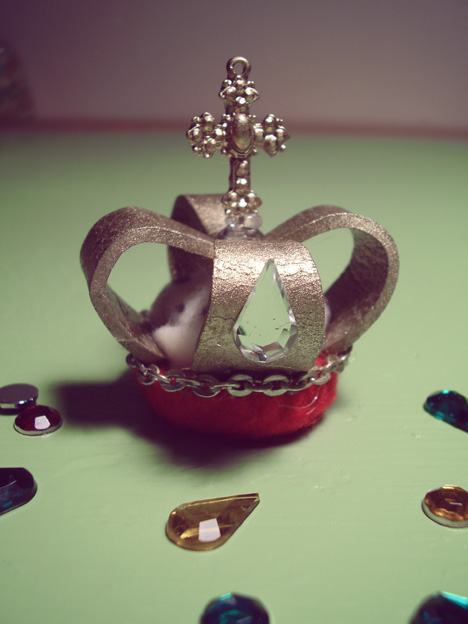
Final Results!
Trackbacks/Pingbacks